
Quick photo to lineart (with hundreds of variables)
Jan 9th 2007
| This tutorial will show you how to turn a photo into a lineart image, and as stated in the title leave you free to apply filters to get an array of final products. | |

|
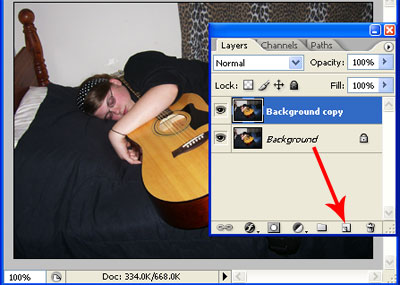
I'll start with a photo of my 15 year old aspiring musician. You can use litertally ANY photo with this method with great results. |
|
After opening your photo go to the Layers pallet and drag the "background" layer to the new layer icon. This gives you a copy of the layer named "Background Copy" |
|
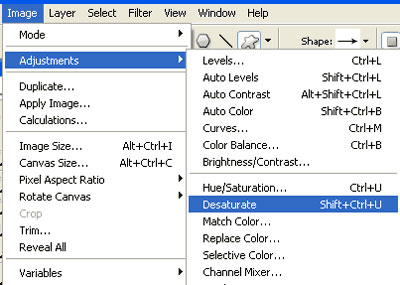
Now change the layer to black and white by either going Image > Adjustments > Desaturate or the keyboard shortcut CTR+SHIFT+U. |
|
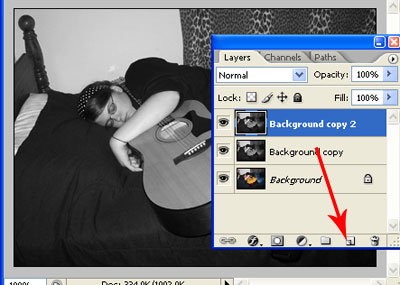
Now in the layers pallet drag the "Background Copy" layer to the new layer icon to duplicate it. This will give you a layer named "Background Copy 2". |
|
|
Invert that layer by going Image > Adjustments > Invert or the keyboard shortcut CTR+I. |
|
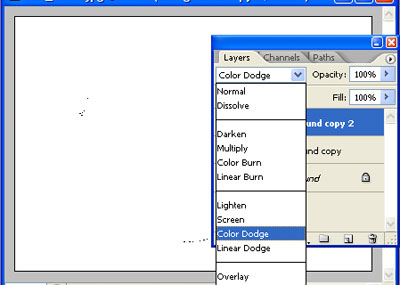
Next, in the layers pallet change "Background Copy 2" blend mode to "Color Dodge". This will basically wash the image completly, but its ok, that is what should happen. |
|
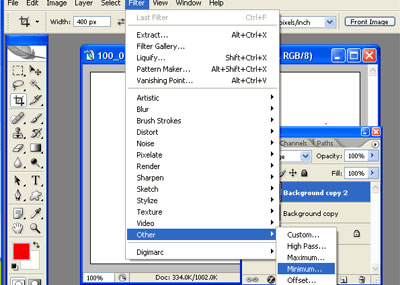
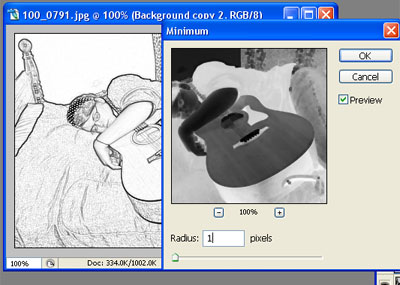
Ok, now the good stuff. With "Background Copy 2" still selected in the layers pallet go to the filters menu and select Filters > Other > Minimum. at the bottom of the Minimum filter pallet Choose a setting you like (usually 1,2 or 3) and click OK. |
|
At the bottom of the Minimum filter pallet Choose a setting you like (usually 1,2 or 3) and click OK. |
|
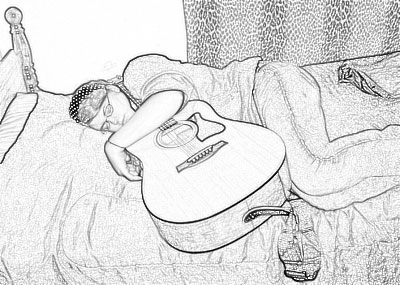
There you have the base effect but as I said you can go in several directions with this. You can add pretty much any filter to this to change the look of the image. |

|
By setting "Background Copy" to invisible (click the eyeball in the layers pallet) You can make a pretty cool Cartoony effect with vivid color. If you "merge down" the "background Copy 2" layer and then change its blend mode to "Luminosity" you get a very nice color lineart effect. There are just so many variable to this technique I could spend hours trying them all. Tinker around and you may find some very cool variants to this simple technique. |