
Vanishing Point (part 3, mutiple planes)
Mar 4th 2007
| Moving objects from one plane to another within an image at one time was a horrible ordeal. Sure you could get there transforming the layer... but it almost never looked natural. Enter Vanishing point. | |
|
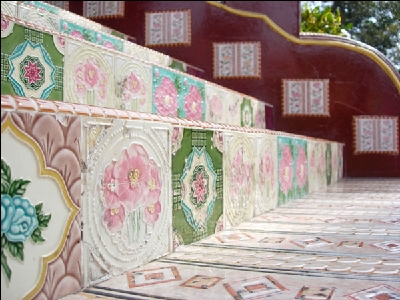
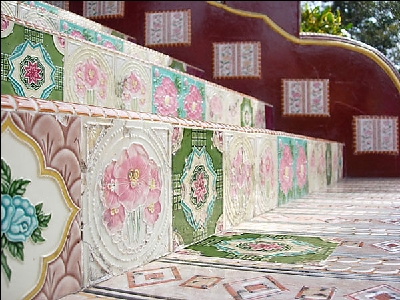
This final Vanishing Point tutorial is something you'll have to play around with to get a handle on what you can do with it. Moving objects from one plane to another within an image at one time was a horrible ordeal. Sure you could get there transforming the layer... but it almost never looked natural. Enter Vanishing point. I going to use this image I snatched from Morguefile.com. Didn't get a photographer name, but I thank them for letting me use it. (If I can't use this image let me know and I'll find another. :) ) |

|
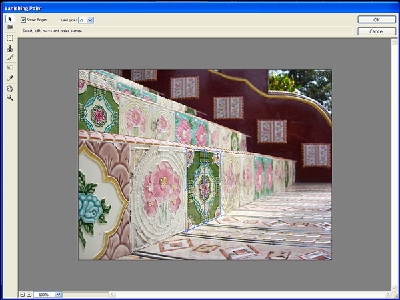
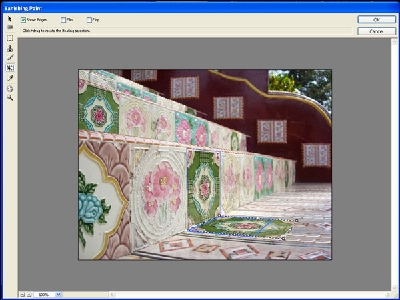
Alright lets go directly into Vanishing point. FILTER > VANISHING POINT. The create plane tool is automatically selected so create the plane by clicking the four corners of one of the tiles. You'll notice that my plane grid is yellow. That means my angles aren't quite right in relation to each other, so I have to adjust the corners a little until it turns blue. |
|
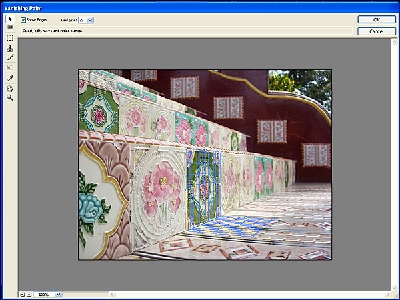
Now with my plane corrected I can move on to extending a secondary plane to the step below. |

|
Holding CTR (CMD on the mac) you can click and drag the center handle on any of the four sides of the plane to extend it making a secondary plane. |
|
|
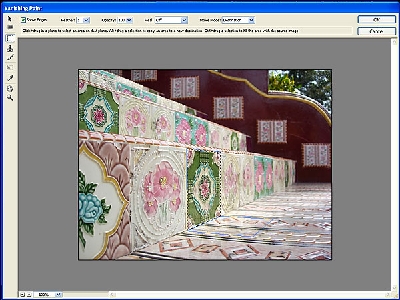
As you can see in the above image the plane isn't extending at the perspective I would like but I can fix that after I have extended it as much as I need. Here you'll see I simply grab the corner handles and move the plane to the perspective I need. (notice the plane is red, that means the angles are WAY WRONG!) |
|
Moving the plane back into perspective will make it turn blue again when it is correct. |
|
Now selecting the marquee tool I make my selection of the tile. Notice how the marquee hold the perspective of the plane you are drawing on. |
|
Then I just select the transform tool and move my selection to the other plane. It make a duplicate and changes its perspective to make that of the secondary plane. |
|
Thats about it, I know there are people far more imaginative than myself out there. So you guys and girls figure out what else this Vanishing point filter will do. :) My final image: |