
Vanishing Point ( part 1, what does that do anyway?)
Jan 13th 2007
|
The vanishing point filter is pretty much another application. It allows you to maintain a perspective plane inside an image allowing you do to alot of things that would be just short of impossible to do in photoshop alone without pulling all of your hair out. This filter is so deep I'm going to break this tutorial down into 3 or 4 parts. Ever wanted to put someone's picture on a billboard? The side of a building? The wall in your room? While the vanishing point filter will do tons of other things, this is something it excels at doing. |
|
|
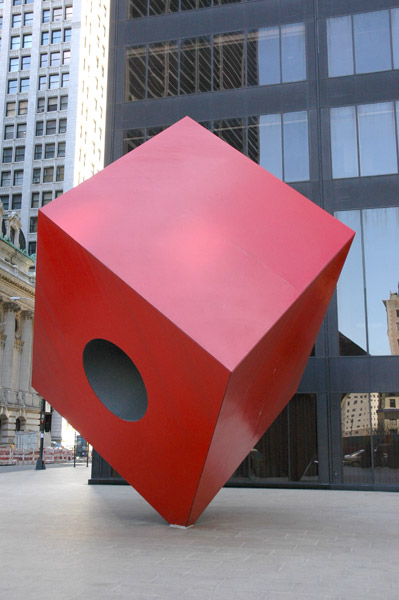
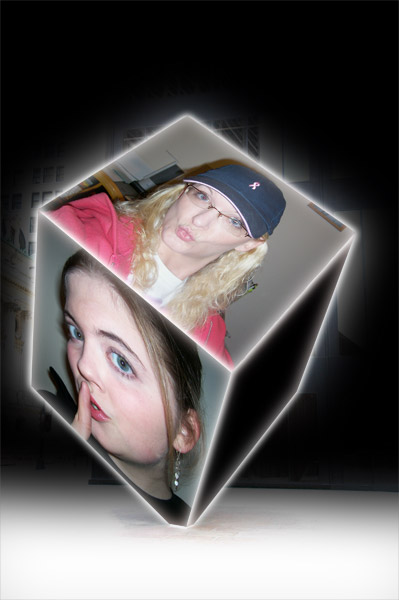
I going to play with this image I snatched from Morguefile.com. Thanks to the photographer Kevin Connors for letting me use it. I am going to be placing a couple of photographs on the faces of this cube. Lets get started! |

|
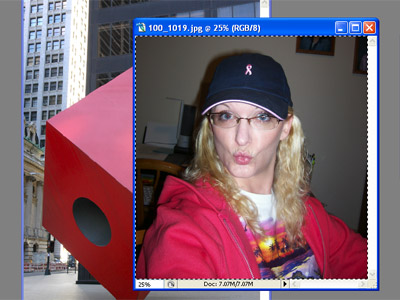
Alright I've opened the "Cube" image and 2 other photographs, one of my wife and one of my daughter, both being all cute and stuff. We'll start out by creating an accurate selection of the top face of the cube. I used the Polygonal Marquee tool to make the selection. Zoom way in and make the selection as precisely as possible. |
|
Now bring the image you'll be placing on the face of the cube to the front and do a CMD+A (CTR+A windows) to select all of the image. Now CMD+C (CTR+C windows) to copy the image. |
|
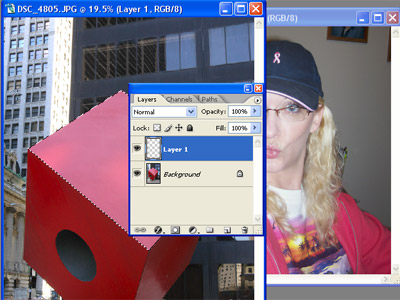
Bring to Cube image back to the forground and add a new layer. |
|
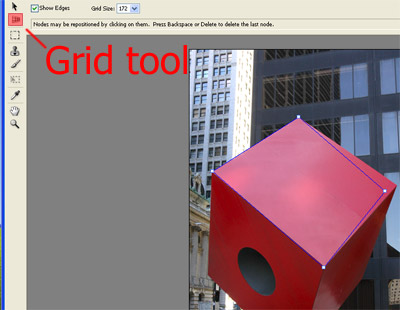
Then go FIlter > Vanishing point. It will take the Vanishing point filter several seconds to come up but when it does you'll see the cube image. By default the "perspective grid/plane tool" will be selected. Make a plane by clicking around the 4 corners of the cube face you made the selection of earlier. This plane doesn't have to be as accurate as the selection you made it just needs to be anchored in the 4 corners of the cube face. |
|
|
Once you have the plane anchored paste the image you copied earlier CMD+V (CTR+V windows). The selection you made will act as a mask inside Vanishing point so its possible you may only see a marquee of the image you pasted. Select the "transform tool" and drag the image/marquee and watch it snap to the perspective of the plane you created. Use the handles to size the image and place it where you want. and click OK. |
|
Repeat the process to add images to the other faces, just remember that each time you should add a new layer to the cube image first. There you have it, one of the many things vanishing point will do. |