
Snowflake
Mar 9th 2007
| The final result kind of looks like a snowflake. | |
|
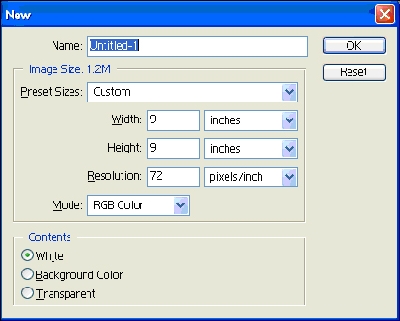
Today I’m going to ¬show you how to make neat design. First, create a new document; make sure it’s at least 8 by 8 inches. |
|
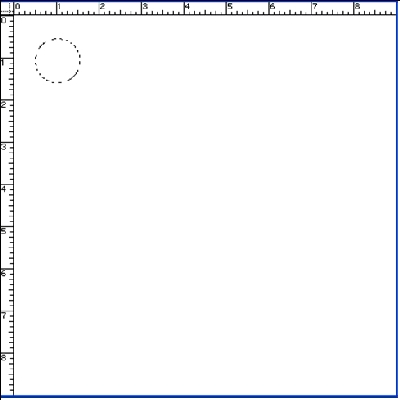
Now you should have a plain, white document. Create a new layer and make a selection using the Elliptical Marquee Tool Your selection should be about this size compare to your document: |
|
|
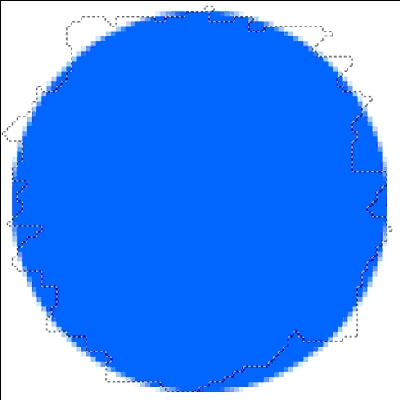
Now fill your selection in with the color of your choice using the Paint Bucket Tool I’m using a bluish color (0042FF) to fill in my selection. When you’re done filling it in, deselect (control/command + D). |
|
Zoom in on the circle at 800%, and with the Lasso Tool Make a squiggly selection around the circle like so: |
|
|
Now invert the selection (control/command + shift + I) and press the delete key. After you deselect and zoom out to 100%, you should now have something like this: |
|
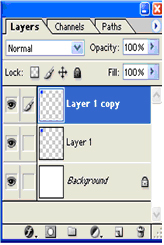
Duplicate that layer (layer Duplicate layer) |
|
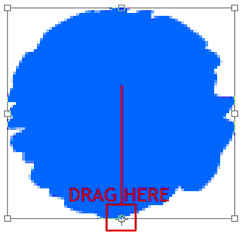
And transform (control/command + T) it. Drag the crosshairs in the middle of the bounding box here: To the middle bottom here: |

|
Move your mouse over to the top right corner of the bounding box until an arrow appears, then click and drag until your image looks something like this: |

|
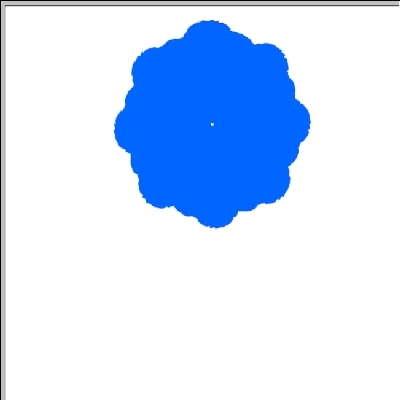
Now press ENTER (or return on Mac). Here’s the cool part: Press control/command + alt + shift + T (let go) control/command + alt + shift + T (so on) until you have something like this: |
|
Now, hide the background layer, and go up to layer Merge visible (unhide the background) duplicate the layer, and repeat the steps starting from transforming the image. You should have something like this: Keep repeating the steps. Shrink your image (ctrl/command+T) a couple of times if it goes out of the screen. Enjoy! |